 Language
Language
LanguageMenu Project – Language.
This lets a visualization run in several languages. Switching over is done later with the control element Language switch.
With Delete a language is removed again.
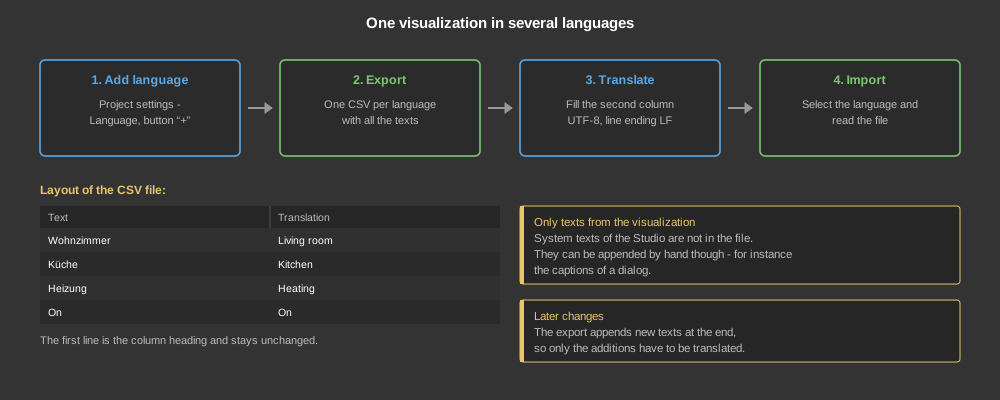
The first line is the column heading and stays unchanged. After that the first column holds the text from the visualization, the translation goes into the second column. File format UTF-8, line ending LF.
If the visualization is changed later, the export appends the new texts at the end of the existing file – so only the additions have to be translated.
The CSV only contains those texts that were entered in the visualization itself. The system texts of the software are not included; they only exist in German and English, that is in the languages available in the Studio under Extras – Language.
System texts can however be entered into the CSV by hand. If for example the control element System settings contains the texts “Brightness”, “Volume” and “Language”, these are simply appended as further lines and translated. After the import and after switching the language they appear translated as well.
Tip: The text has to be written exactly as it appears in the dialog – otherwise the switch does not find it.